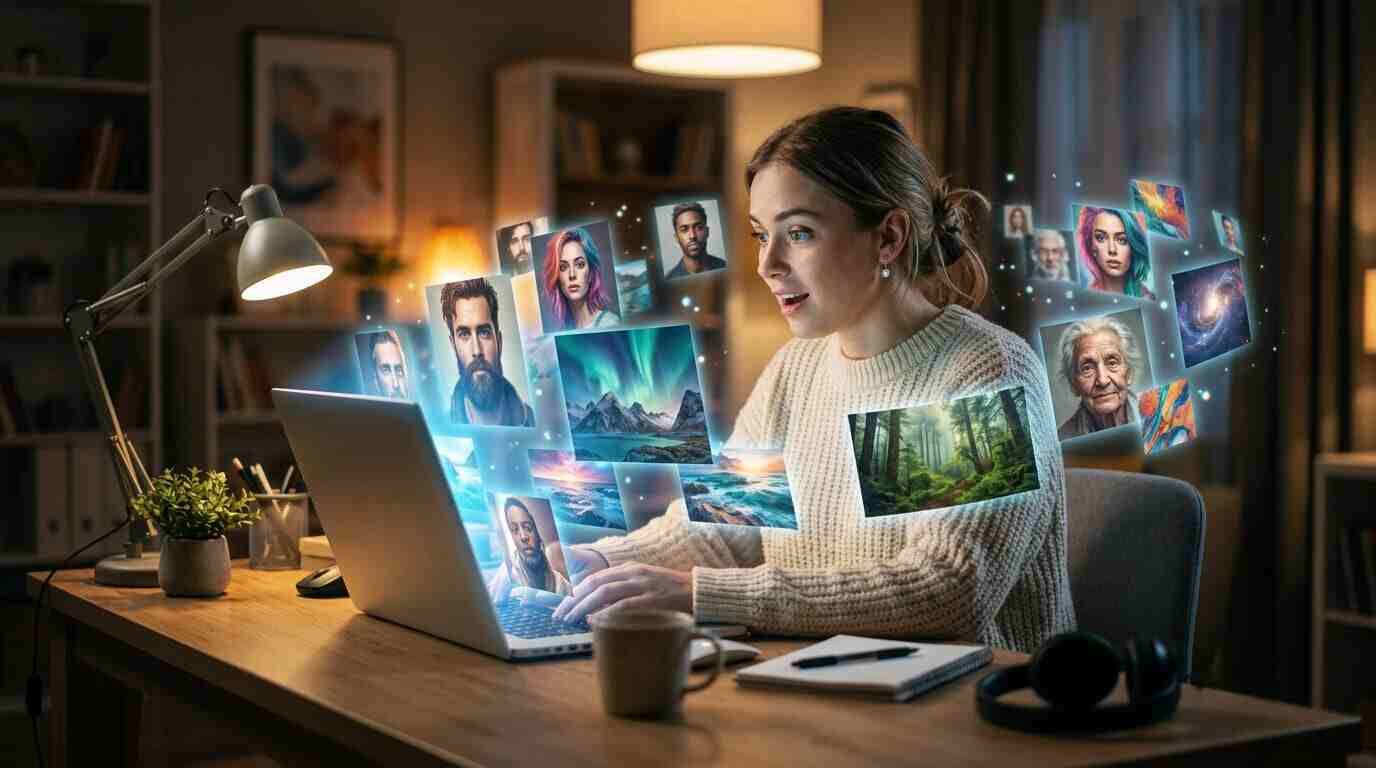
You don't need Photoshop skills, a camera, or a design degree to create stunning, realistic photos anymore. With the right AI image generator, all you need is a good idea, and a few words to describe it.
This step-by-step guide is built for complete beginners. By the end, you'll know exactly how to generate realistic AI photos that look professional, polished, and production-ready.
What Are AI-Generated Photos?
AI-generated photos are images created entirely by artificial intelligence based on a text description (called a prompt) you provide. The AI has learned from millions of real photographs and uses that knowledge to produce new visuals that never actually existed.
The results can range from hyper-realistic portraits and landscapes to product mockups, social media visuals, concept art, and more, all generated in seconds.
What You'll Need Before You Start
No downloads, no complicated software. Here's the short list:
- An internet connection
- An AI-PRO account — AI-PRO is powered by the latest and most powerful tools, including Gemini’s Nano Banana 2 and 14+ other AI tools, all in one platform.
- A clear idea of the image you want to create
That's it. Let's get into it.
Step 1: Log Into AI-PRO
Head to AI-PRO.org and log into your account. From the dashboard, go to Image Generation and choose Nano Banana 2 as your model of choice.
Nano Banana 2 is designed for speed and quality. It can generate images from a simple text prompt, take a reference image and reimagine it, and produce outputs up to native 4K resolution, making it one of the most capable image generators available for beginners and professionals alike.
Once you're in, you'll see a prompt input box. That's where the magic starts.
Step 2: Write Your First Prompt
A prompt is just a text description of the image you want. The more specific you are, the more realistic and on-target your result will be.
Basic Prompt Formula for Beginners:
[Subject] + [Setting/Background] + [Lighting] + [Style/Mood] + [Camera/Quality details]
Examples:
Too vague:
"a woman"
Much better:
"A professional woman in her 30s sitting at a modern office desk, soft natural window lighting, photorealistic, sharp focus"
Another example:
"A golden retriever running through a sunlit wheat field, motion blur, warm afternoon light, shot on 85mm lens, hyperrealistic photography"
You don't have to use all five elements every time, but the more context you give the AI, the closer it will get to what you're imagining.
Step 3: Choose Your Output Settings
Before hitting generate, take a moment to set your output preferences in Nano Banana 2:
- Resolution: Start with 1K for quick drafts. Use 2K or 4K for final, production-ready images.
- Aspect Ratio: Choose based on where you'll use the image, square (1:1) for social media, landscape (16:9) for banners, portrait (4:5) for mobile.
- Mode: Choose Text to Image if you're starting from a description. Choose Image to Image if you have a reference photo you want the AI to reimagine or restyle.
Step 4: Generate and Review
Hit Generate and let Nano Banana 2 do its work. Thanks to its Gemini Flash-based architecture, results typically come back in 10–30 seconds.
Review your result honestly:
- Does the subject look realistic?
- Is the lighting natural?
- Are there any strange artifacts (extra fingers, blurry faces, odd backgrounds)?
If the image isn't quite right, don't delete it, iterate on it instead.
Step 5: Refine Your Prompt (The Most Important Step)
Getting the perfect realistic photo almost always takes a couple of attempts. Here's how to refine effectively:
Add More Specificity
If the image looks too generic, add more detail:
- Instead of "natural lighting," try "golden hour sunlight from the left, soft shadows"
- Instead of "modern office," try "minimalist open-plan office with floor-to-ceiling windows overlooking a city"
Use Negative Prompting
Tell the AI what you don't want. In Nano Banana 2, you can add a negative prompt field with things like:
"cartoon, illustration, blurry, oversaturated, extra limbs, low quality"
Use a Reference Image
One of Nano Banana 2's standout features is its ability to accept up to 14 reference images to maintain character consistency, style, and composition across multiple outputs. If you have a photo with lighting you love, upload it as a reference.
Step 6: Upscale and Export
Once you're happy with your image:
- Use Nano Banana 2's 4K upscaling feature to sharpen and enhance the final output
- Download in your preferred format
- Use directly in your project, blog, social media, marketing materials, presentations, or client work
Common Beginner Mistakes to Avoid
| Mistake | Fix |
| Prompts that are too short | Add subject, setting, lighting, and style details |
| No quality anchor | Add "photorealistic, 4K, sharp focus" to your prompt |
| Ignoring the negative prompt field | Use it to eliminate unwanted styles or artifacts |
| Generating at low resolution and wondering why it looks bad | Use 2K or 4K for any image you plan to actually use |
| Giving up after one attempt | Refine and regenerate, iteration is the process |
Final Thoughts
Generating realistic AI photos is no longer a skill reserved for designers or tech experts. With the right tool and a little practice writing prompts, anyone can produce professional-quality images in under a minute.
AI-PRO makes it even easier, instead of hunting down separate image generation tools and paying for multiple platforms, you can use Nano Banana 2 and 14+ AI tools all in one place. It's the fastest way to go from idea to finished image without the learning curve or the stacked subscription fees.